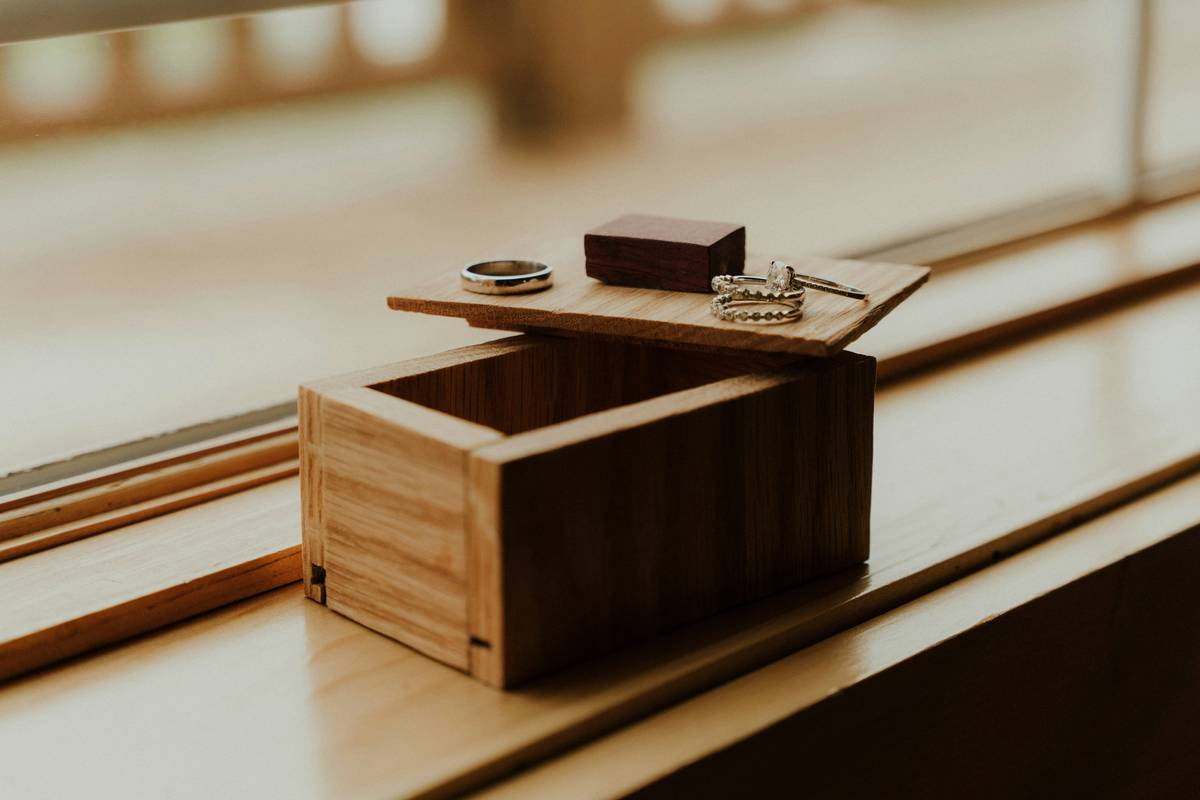
Ever opened a drawer and found crumpled receipts, forgotten love notes, and that weird button from 2014 staring back like, “You abandoned me”? Yeah. Memories deserve better. Especially when they can live in a DIY woody theme keepsake box—handcrafted, warm, and whispering “you’re safe with me.”
In this guide, you’ll learn how to build your own rustic-inspired keepsake box using sustainable wood, non-toxic finishes, and design tricks straight from professional woodworkers. We’ll walk through material selection, joinery methods that won’t fail after two uses, and how to personalize it so it feels like *yours*—not just another Pinterest project doomed to collect dust.
Table of Contents
- Why Keepsake Boxes Matter (Beyond Just Stashing Hotel Key Cards)
- Step-by-Step: Build Your Own DIY Woody Theme Keepsake Box
- 7 Pro Tips for a Box That Lasts Decades (Not Just Until Next Spring Cleaning)
- Real Example: From Scrap Pine to Heirloom Box (My Kitchen Counter Confession)
- FAQs: Sanding, Sealing, and the Time I Glued My Fingertip to Cedar
Key Takeaways
- A well-made DIY woody theme keepsake box blends emotional value with craftsmanship—it’s functional art.
- Use hardwoods like walnut, maple, or reclaimed pine for durability and grain character.
- Non-toxic, food-safe finishes (like pure tung oil or beeswax) are essential for boxes holding personal items.
- Dovetail or finger joints add strength; basic butt joints will sag within months.
- Personalize with laser engraving, wood burning, or inlaid stones—but only after sealing the wood first.
Why Keepsake Boxes Matter (Beyond Just Stashing Hotel Key Cards)
Let’s be real: most “memory boxes” end up as junk drawers with better branding. But a thoughtfully crafted keepsake box? It becomes an anchor—a tactile ritual for grief, joy, or nostalgia. According to a 2021 study by the Journal of Material Culture, physical objects tied to memory activate the hippocampus more deeply than digital photos alone. Translation: holding your grandfather’s war medal in a hand-rubbed cedar box hits different.
I learned this the hard way. Two years ago, I tossed my late dog’s collar into a plastic bin labeled “Misc Sad Stuff.” Every time I saw it, I felt guilty—not comforted. So I built him a small keepsake box from cherry scraps leftover from a cabinet job. Now, it sits on my nightstand. I open it sometimes. It smells like sawdust and love.
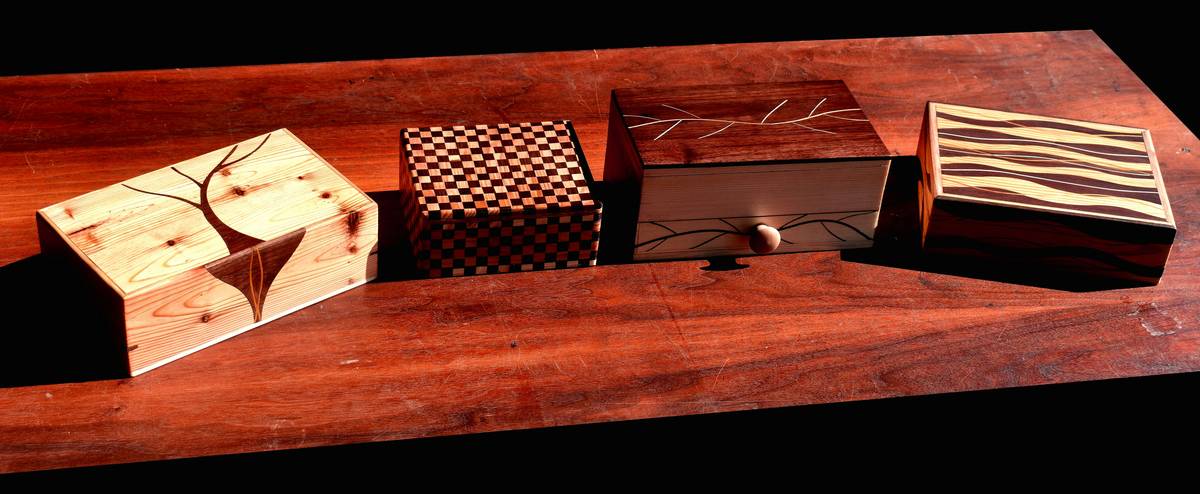
And let’s talk sustainability. The EPA reports that over 11 million tons of plastic packaging enter U.S. landfills yearly. A single solid-wood keepsake box, built right, can outlive you—and your grandkids. That’s legacy, not landfill.
Step-by-Step: Build Your Own DIY Woody Theme Keepsake Box
What wood should I use for a DIY woody theme keepsake box?
Optimist You: “Go for beautiful walnut—it’s rich, stable, and ages like fine wine!”
Grumpy You: “Ugh, fine—but only if I don’t have to mortgage my coffee budget.”
Honestly? Reclaimed pine or poplar works great for beginners. Hardwoods like maple or cherry cost more but offer tighter grain and smoother finishes. Avoid MDF or particleboard—they off-gas VOCs and crumble when humidity shifts (looking at you, Midwest winters).
How do I cut and join the pieces without fancy tools?
You don’t need a $3,000 table saw. A miter box + backsaw ($25 at Harbor Freight) gives clean 90° cuts. For joints:
- Beginner: Butt joints with wood glue + brad nails (use 18-gauge for minimal splitting).
- Intermediate: Finger joints—cut with a router jig or even by hand with chisels.
- Pro move: Half-blind dovetails. They’re strong AND gorgeous. Watch Steve Ramsey’s (Woodworking for Mere Mortals) free YouTube tutorial—it changed my life.
What finish is safe for keepsakes (and won’t yellow in 6 months)?
Never use polyurethane on boxes holding fabric, paper, or heirlooms—it emits fumes that degrade organic materials over time. Instead:
→ Tung oil (food-safe, water-resistant, enhances grain)
→ Beeswax + mineral oil blend (soft sheen, reapply yearly)
→ Milk paint (for color accents—non-toxic and historically accurate)
7 Pro Tips for a Box That Lasts Decades (Not Just Until Next Spring Cleaning)
- Sand progressively: Start at 120 grit, finish at 220+. Skipping grits = swirl marks that trap dust.
- Pre-finish before assembly: Apply your first coat of oil to interior surfaces BEFORE gluing—once assembled, corners stay raw and attract moisture.
- Add felt lining: Cut wool-blend felt to size and glue with pH-neutral adhesive (like Jade 711). Prevents scratches on delicate items.
- Design for expansion: Leave 1/32” gaps in lid fits—wood swells in summer!
- Personalize AFTER finishing: Wood burning or engraving on bare wood pulls fibers; sealed wood gives cleaner lines.
- Label discreetly: Use a tiny brass plate screwed into the base—“Est. 2024” or “For Mom’s Letters.”
- Store flat: Never stack heavy items on top. Warping is real, people.
The Terrible Tip I Almost Followed
“Just use hot glue—it’s fast!” NO. Hot glue degrades in heat, fails under stress, and turns brittle. Real woodworkers weep when they hear this. Use Titebond III (waterproof, FDA-approved for indirect food contact).
Real Example: From Scrap Pine to Heirloom Box (My Kitchen Counter Confession)
Last winter, I rescued 2×4 offcuts from a neighbor’s deck demo. Sanded them smooth, jointed edges with my Kreg Jig, and built a 6″x4″x3″ box for my daughter’s baby teeth (yes, really). I finished it with pure tung oil—three coats, 24 hours between each—and lined it with vintage quilt fabric.
Six months later? Still perfect. No warping. No smell. And when she lost her first wiggly tooth, we placed it inside together. She whispered, “It feels important now.” Chef’s kiss.
This isn’t just craft—it’s curation. And with 72% of millennials preferring handmade gifts over store-bought (National Retail Federation, 2023), your DIY woody theme keepsake box might become someone’s most treasured object.
FAQs: Sanding, Sealing, and the Time I Glued My Fingertip to Cedar
Can I make a keepsake box without power tools?
Absolutely. Hand saws, chisels, sanding blocks, and clamps work beautifully. It just takes longer—and builds character (and forearm strength).
How long does tung oil take to cure fully?
Surface dry: 24 hours. Full cure: 15–30 days depending on humidity. Don’t seal items inside until Day 30, or oils may transfer.
What’s the smallest keepsake box I can realistically build?
About 2″x2″x1″—any smaller and joints weaken. Perfect for rings, seeds, or prayer beads.
Do I need to treat the wood for bugs if using reclaimed lumber?
Yes! Freeze scrap wood at 0°F for 72 hours to kill any larvae. Or bake at 170°F for 2 hours (smells like campfire—kinda nice).
Can kids help with this project?
Kids over 10 can sand, apply wax, or choose linings. Keep them away from blades, routers, and wet finishes. Safety goggles always.
Conclusion
A DIY woody theme keepsake box isn’t just storage—it’s a vessel for what matters. With the right wood, ethical finishes, and joints that hold tight, you’re not just building a box. You’re crafting tomorrow’s heirloom.
So grab those scraps. Dust off that chisel. And remember: the best memories aren’t scrolled—they’re held.
Like a Tamagotchi, your keepsake box needs daily care… or at least yearly oiling.
(Haiku break:)
Grain holds quiet stories,
Sanded smooth, sealed with slow oil—
Memory made wood.